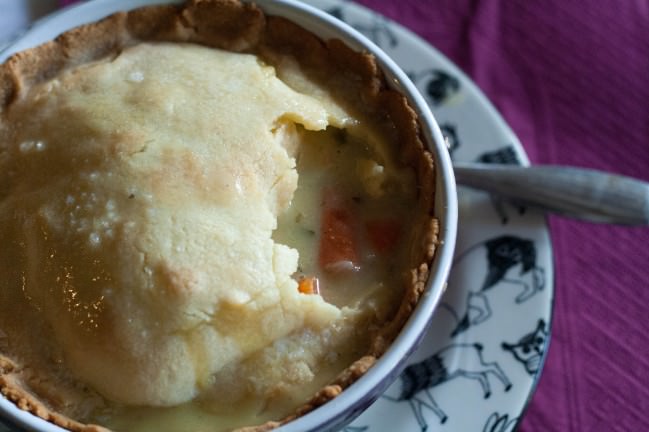
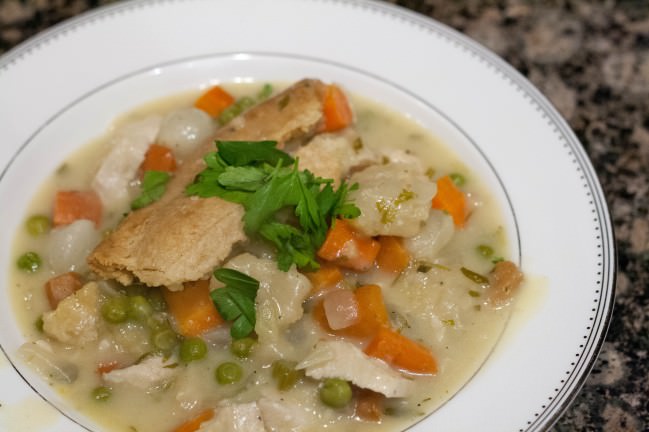
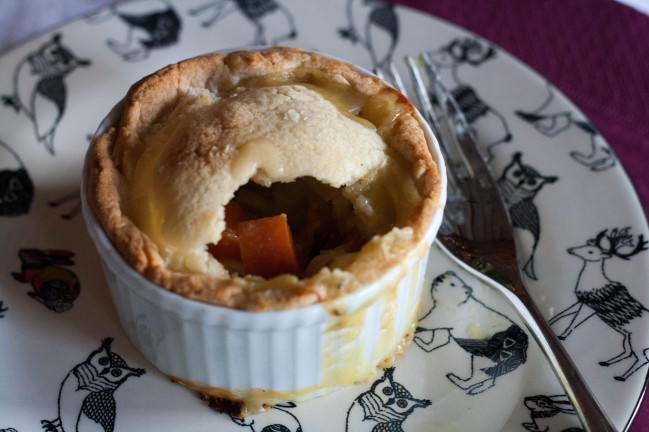
 Today, it’s the day for Snow Day Chicken Pot Pie. You know the kind. The wind chill is below freezing, there are logs on the fire; I could curl up and read all day, but fortunately, Chloe T. Dog makes me bundle up to go out for a walk and play in the snow. It’s the kind of day where mittens hang by the fire to dry out. Showers are long and luxurious. Flannel PJ’s are a must. Marshmallows float on rich Hot Chocolate. Cooking is slow and frequent and the extra heat from the oven is welcome. A day such as this demands the right kind of lunch baking in the oven while I’m outside. And as you can imagine, I have the perfect lunch for a day such as this: Snow Day Chicken Pot Pie. My take on the classic chicken pot pie pumps up the vegetables and lowers the fat without sacrificing taste. With the healthier cooking choices I make for this traditionally rich dish, there will be room left in the caloric budget for that hot chocolate I was talking about. And don’t worry, you don’t have to wait for snow or even cold to make Snow Day Chicken Pot Pie.
Snow Day Chicken Pot Pie
Ingredients
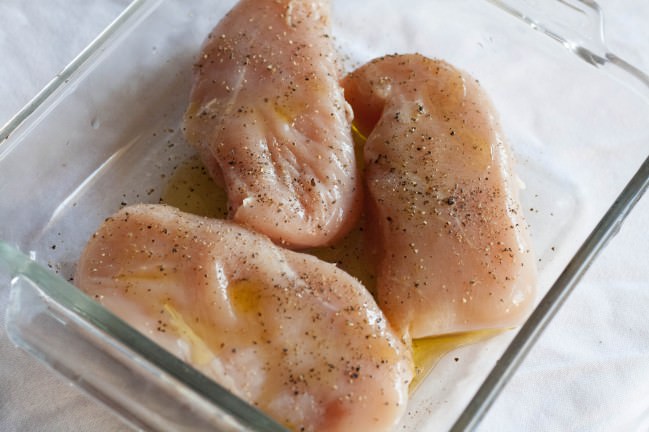
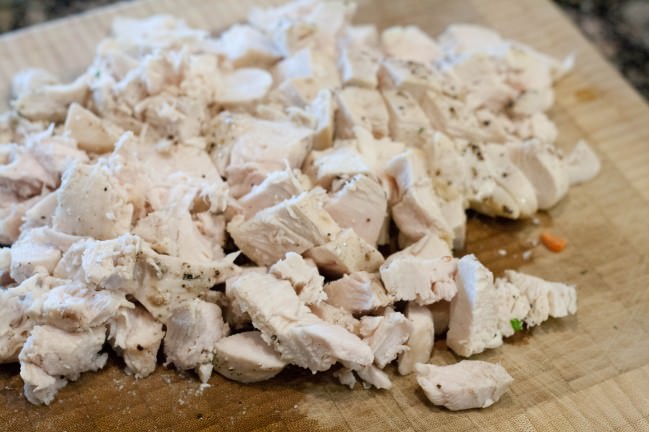
- 3 chicken breasts I prefer bone-in, skin-on but I didn’t have them today
- 3 tablespoons olive oil
- sea salt
- freshly ground black pepper
- 4-5 cups chicken stock; homemade if you have some
- 2 tablespoons unsalted butter
- 2 cups yellow onions
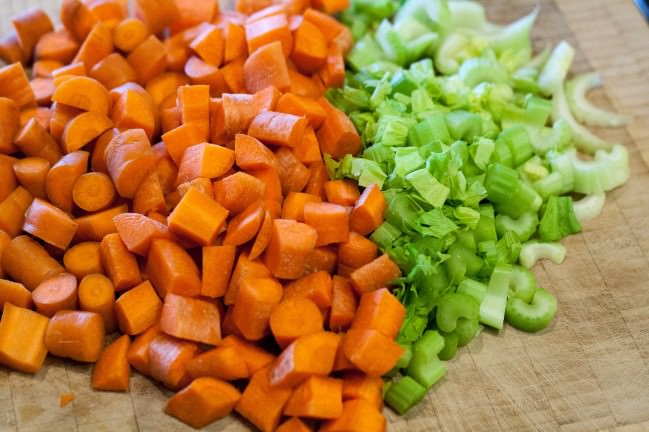
- 2 cups celery
- 2 tablespoons minced garlic
- 1 cup white wine
- ¾ cup all-purpose flour
- ½ cup reduced fat sour cream or low-fat yogurt
- 2 cups medium-diced carrots
- 2 cups frozen peas
- 1 ½ cups frozen pearl onions
- ½ cup minced fresh parsley leaves
- 2 bay leaves
- Pastry Dough for two 9-inch pies freeze any leftover for later
Instructions
- Preheat the oven to 350° F.
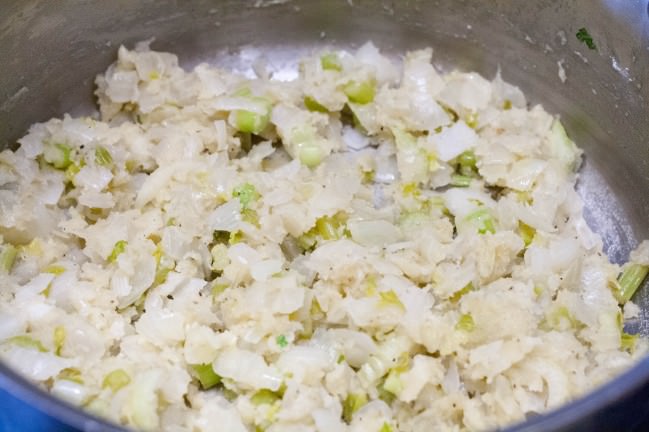
- While the chicken is in the oven, in a large pot, melt the butter and sauté the onions and celery over medium-low heat for 10 minutes, until translucent. Add the garlic and cook 1-2 minutes. Add the bay leaves and the wine and cook until all the wine has evaporated.
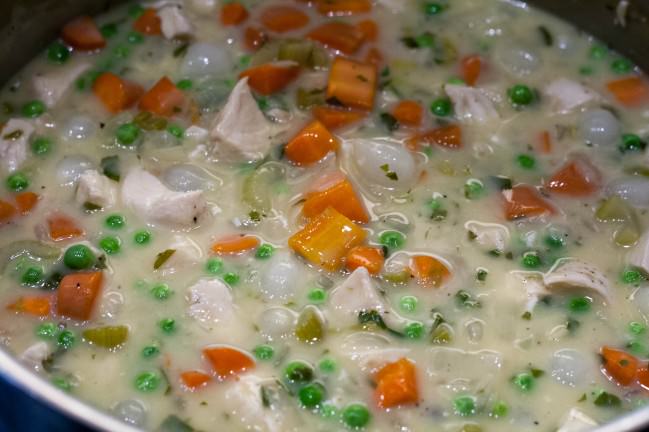
- Add the hot chicken stock to the sauce. Simmer over low heat, stirring, until thick. Add two teaspoons salt and ½ teaspoon pepper.
- Raise the oven temperature to 375° F.
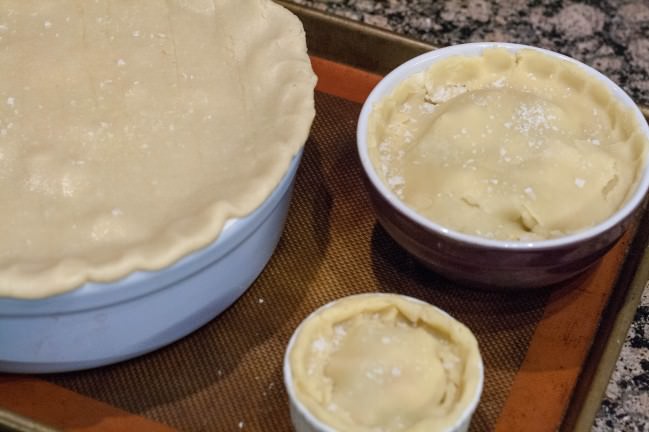
- Divide the dough according to the bowls you select.
- Roll each piece into a circle or rectangle that fits the vessel generously. Place the dough on top. Roll the excess dough inside the vessel and crimp the edges. You can brush the dough with egg if you want it to be shiny. I rarely bother.
- Sprinkle with sea salt. Place on a baking sheet and bake for 1 hour for large vessels, 45 for medium and 30 for mini (until the top is golden and the filling is hot).


Just made this for tonight’s dinner – can’t wait! BUT, question… can I make it a few hours ahead, fill the pie, put it together and keep it in the fridge until I am ready to bake or will the crust get soft?
Excellent question. I often make the filling a day in advance, as well as the crust, but I store them separately in the fridge. I prefer to wait to top it out of concern for a soggy crust. That said, when I reheat the baked pot pie in the oven as leftovers, the crust toasts back up well, so while I haven’t assembled it, stored it, then baked it, I bet it will still work out just fine. Also, keep in mind if you’re storing it, you want to heat the filling gently before you top and bake, or at least lower the oven temp and expect to cook it more than an hour. Otherwise you’ll have a cold center and a burned top.
Thanks! I will try that tonight. Lovely recipe!
Enjoy! And let me know what you think.