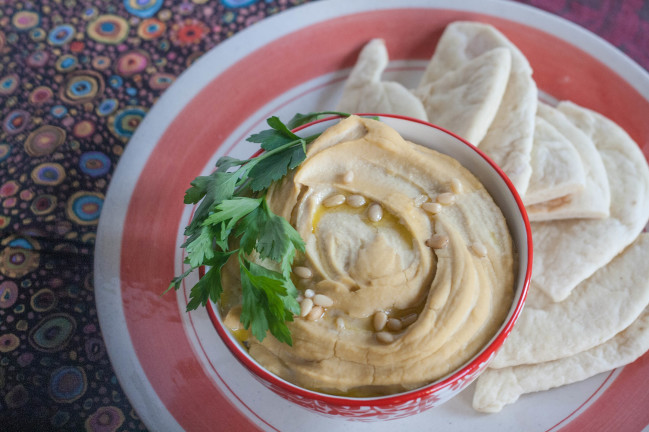
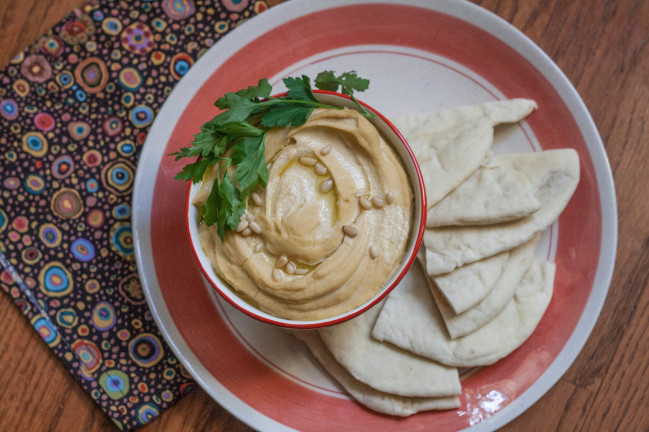
 Turns out it’s scary to post a hummus recipe. There are so many, from so many parts of the world and they are thousands of years old. AND, people who know about hummus are kind of like people who know a lot about NY pizza, or the best Philly cheese steak, or fine wine. They’re passionate about their particular favorite and not particularly open to the other styles. In fact, I’ve read many recipes claiming to be the “real hummus” recipe. I do not have a sophisticated enough hummus palate to tell you when it’s Lebanese or Israeli. And I’m not offended by the addition of things like roasted red peppers and green peas. In fact, I actually really love those spreads and like to keep them around for healthy snacks. But I have learned I would be better off to call those types of appetizers green pea and chick pea spread so as to avoid irritating the serious connoisseurs of the world. Despite these concerns, I’m going to risk judgment and share how I personally make hummus. It’s easy, delicious, and a fun excuse to show off your Homemade Pita Bread skills too. I often roast the garlic, just in case I have guest coming who are sensitive to it, as the cooking process usually fixes that problem. When I do roast it, I tend to up the quantity a fair amount as it makes the garlic flavor much more mild. I highly recommend making your own; it’s fun to tinker with the different ingredients and even things like the brand of tahini you use. Over time, you’ll find your own perfect homemade hummus.
Homemade Hummus
Ingredients
- 1 cup dried chickpeas the smallest you can find
- 2 tablespoons tahini I find that tahini varies widely in taste by brand and you have to find one you like and adjust this amount substantially depending on how mild or bold the one you're using is- some recipes call for up to ½ cup of tahini for 1 cup of dried chickpeas
- ¼ cup warm water
- 4 tablespoons olive oil
- juice of 1 lemon
- 1 teaspoon salt at least
- 2 cloves of raw or roasted garlic or more if that's your thing
Instructions
- Sort out damaged grains or small stones from the chickpeas.
- Wash the chickpeas several times, until the water is transparent.
- Soak them in clean water over night with 1 tablespoon of baking soda. Then, wash and soak again in tap water for a few more hours. The grains should absorb most of the water and almost double their volume.
- Wash the chickpeas and put them and ¼ teaspoon baking soda in a large pot covered with water. Cook until the grains are very easily smashed when pressed between two fingers. You may wish to change the water during the cooking process and remove the peels and foam. Strain.
- Add all the ingredients to a food processor and process up to 30 minutes (but as few as 5). Add more olive oil to increase the creaminess.
- Chill and serve with a little good olive oil, perhaps some pine nuts, and fresh homemade pita bread.

Notes
Use canned chick peas (2 cups) if you forgot to plan ahead. Most people won’t really notice but you will have to food process them longer to get the creamy texture.
If you want cooked garlic but don’t want to heat up the oven or take the time, toss it in with the chickpeas while you cook them.
Why all the rinsing and straining? From what research I’ve done, this is for the comfort of your diners. Chickpeas have lots of oligosaccharides, which is a molecule chain that humans can only partially break down. If you rinse the peas a lot, you minimze the digestion difficulty and reduce the needs to sing “Beans, beans the magical fruit”.


Pingback: Homemade Pita Bread
Pingback: Lamb Kofta